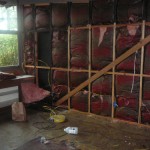
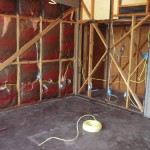
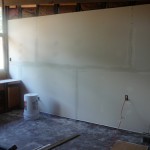
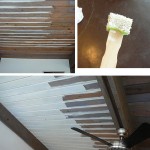
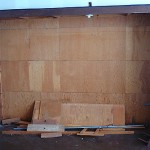
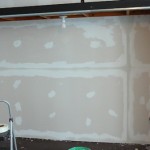
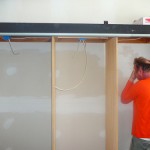
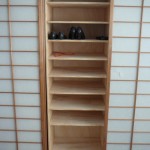
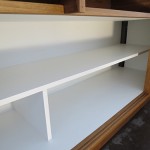
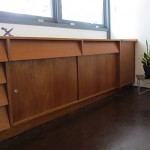
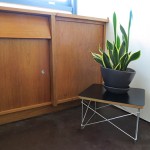
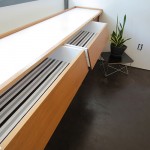
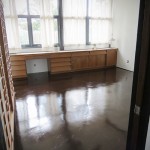
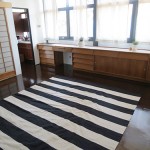
The master bedroom was teeny tiny… or at least it appeared that way when we bought the house. After removing part of the built in cabinets and one of the closets, turns out the room was pretty darn big! We took down the paneling, removed a closet, removed a built-in bed, pulled up the carpet, rewired the electrical, hung sheetrock, stained the ceiling, took apart all the windows and resealed them, refinished the remaining built-ins, tore out and reconstructed the remaining closet, sealed and wax the floors, built a king-sized bed, hung curtains, and …. passed out!
No, we didn’t do it in a day… more like a little bit here and there over 3 years. Take a look at the gallery below. Click image to enlarge. For full detailed posts of individual projects CLICK HERE.


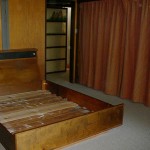
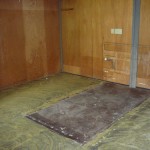
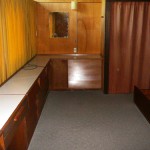
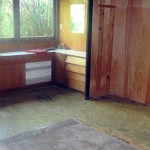
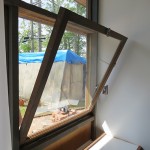
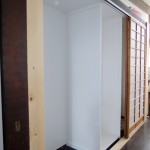


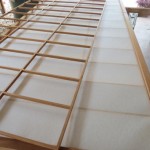
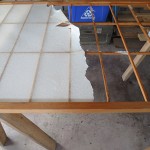
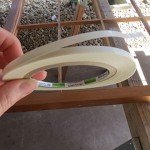
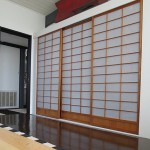
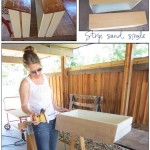
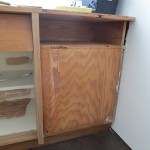

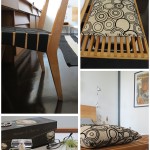











What material did you use for that fabulous platform bed? What is the platform and headboard attached to?
Hi Kate! Thanks for visiting.

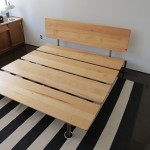
The bed frame was welded by my husband and is made out of square steel tubing and then painted.
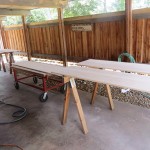
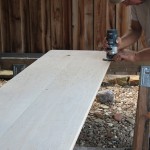
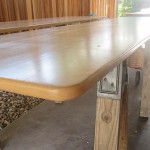
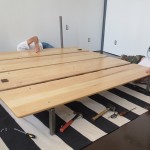
The wood is all maple. Each strip was biscuit joined and then planed and routed to have a solid piece. We tried doing plywood to save time and money but the edges just didn’t look as good. The headboard was tricky as we didn’t want the bolts going through the front of the wood. My husband glued and screwed in to the back with a strip of wood and then used large bolts through the metal arms to attach it all. This kept us from accidentally going through the front. Here’s a picture I took with my phone so you can see it up close.
If you want to see the post where it shows the entire metal frame you can visit the page at http://www.agoodehouse.com/2012/08/king-sized/
You can see the metal tubing that was welded to support the headboard and how it was all put together.
Hope that helps. It was a fun project. We built a queen size just like it, several years back, and it’s in our guest bedroom. So this was a second attempt and it went really well. Obviously we learned a lot from the first. Thank you so much for looking and for the email.
Stacey
Hi. Love your house! We are about to embark on a MCM renovation and I have a question about your cement floor. I want to rip up all the flooring and just use the concrete slad for our floors. I know there is random holes, glue, rough spots etc. will all of that sand out? Have any advice for us on this subject?
Thanks
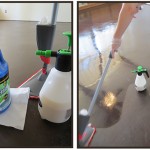
Hi Laura! Thanks so much for your email. I love having concrete floors but we were really lucky because the original architect planned for them, so they were very smooth and already stained. Sanding will definitely remove some of the roughness and if you fill the cracks and holes FIRST, then you should get nice results. As for the glue. That can be a nightmare because it will build up on your sand paper REALLY fast and you’ll go through them like crazy. I would suggest getting up any glue before you sand. It’s a pain but if you get the right product to assist you it makes it easier. We had carpet glue all over the floors and found a product called Bean-E-Doo. It’s a soy-based product that is totally safe for the environment. You can read about it here >> http://www.franmar.com/index.php?main_page=product_info&products_id=84. You spread the product over the floor and let it sit for about 30 minutes or so and then we used a buffer (or you could use a scraper) and some hot water to lift the glue. It came right up! The product was a life-saver. We then sealed the concrete with a water-based concrete sealer and in some rooms topped it with a glossy wax top coat. I guess it all depends on how rough your slab is but sanding can definitely help.
Thanks so much for visiting! Good luck with your project. Having concrete floors is a very green option and we really love ours.